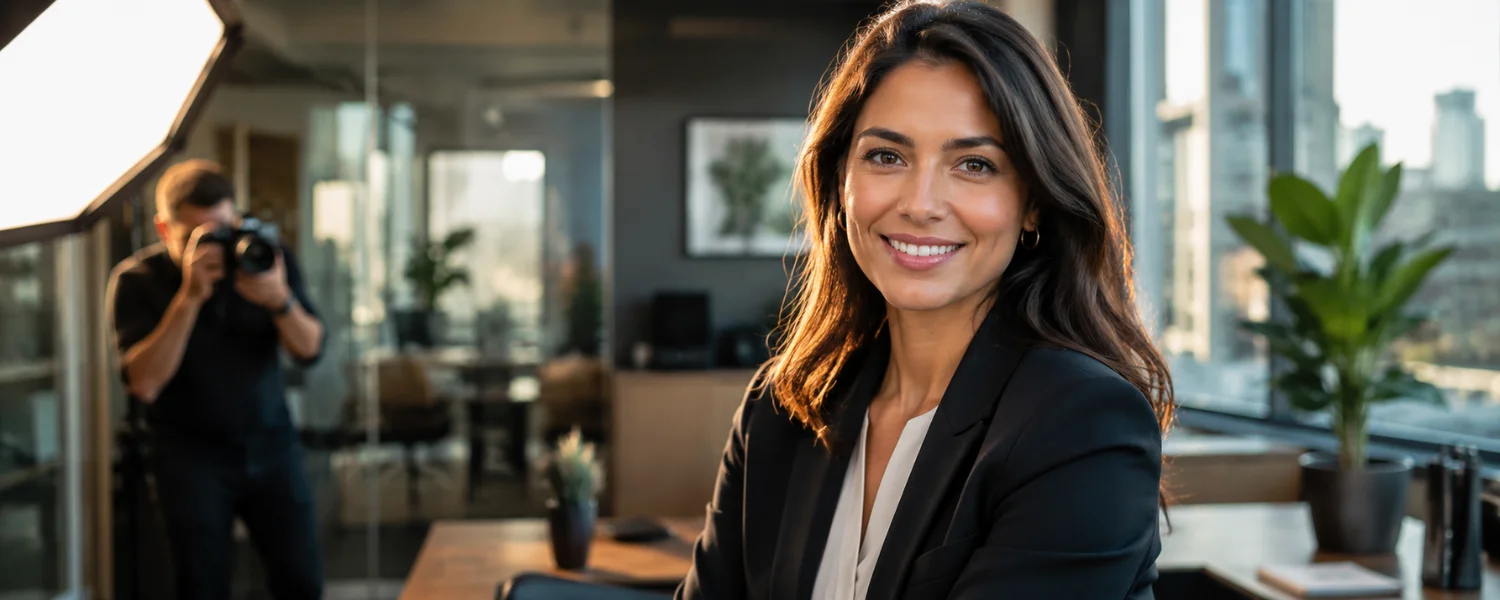
In the world of photography, headshots and business portraits play a crucial role in portraying a professional image. Yet many people feel uneasy or dissatisfied with how they look in these shots. If that sounds familiar, you are far from alone. Countless professionals experience the same discomfort when a camera turns their way. The good news: becoming more photogenic is absolutely attainable. Whether your session is in a bustling city studio or a serene outdoor space, the right techniques—and a dose of self-assurance—transform your headshots into compelling, authentic portraits of your best self. Let’s dive in and make the camera your ally.
The Connection Between Inner Feelings and Outer Appearance
How you feel internally directly affects what shows up on camera. Confidence isn’t a switch; it’s a set of small, repeatable habits that settle your nerves and bring out your natural presence.
1) Deep breathing to reset your nerves
Deep Breathing: Take a moment for deep breathing before your photoshoot to relax and feel poised in front of the lens. Try box breathing (inhale 4, hold 4, exhale 4, hold 4) for a minute to lower your heart rate and release facial tension.
2) Posture matters more than you think
Posture Matters: Maintaining good posture can boost your confidence and make you feel more camera-ready. Imagine a string lifting the crown of your head while your shoulders relax down and back—open posture reads as credible and warm.
3) Trust your photographer’s guidance
Trust Your Photographer: A professional photographer will ensure your comfort, provide clear directions, and help you feel at ease during the shoot. Ask for real-time feedback and small adjustments; micro-corrections make macro differences.
Dressing for Success on Camera
Your clothing should support your face, convey your role, and photograph cleanly. Fit, texture, and tone matter as much as color.
4) Opt for long sleeves to keep the focus on your face
Opt for Long Sleeves: Exposed skin draws attention away from your face, so choose long sleeves to keep the focus on you. Three-quarter sleeves can also work beautifully.
5) Embrace solid colors over busy prints
Embrace Solid Colours: Avoid distracting prints and patterns, opting for solid colors that enhance your portrait. Subtle textures (a fine knit, matte crepe) add depth without stealing the scene.
6) Choose dark, neutral, and cool tones
Choose Dark, Neutral, and Cool Tones: Colours like gray and blue complement many complexions and look refined on camera. Deep jewel tones also read professional while adding personality.
7) Align your outfit with your industry and role
Finance and law often suit structured blazers and crisp shirts; creative roles welcome elevated smart-casual; education and nonprofit can lean warm and approachable. Dress one step above your day-to-day to signal preparedness.
8) Prioritize flattering necklines and structured layers
Blazers, jackets, or cardigans create clean lines that slim and sharpen posture. Aim for V, scoop, or modest notch lapels to elongate the neck; avoid high-contrast bulky scarves that crowd the jawline.
9) Fit over fashion—tailor if needed
Slim or gently tapered fits prevent fabric bunching. Steam or press pieces before the session and bring a lint roller. A well-fitted jacket instantly elevates presence on camera.
10) Match colors to your undertone
Cool undertones favor navy, charcoal, cobalt, and berry; warm undertones shine in olive, camel, teal, and rust. If unsure, stay with mid-to-deep neutrals (navy, charcoal, forest) that work across lighting setups.
11) Keep accessories minimal and intentional
Choose simple studs, small hoops, or a single pendant. Ties should be matte and medium contrast; pocket squares subtle. Watches should be slim and non-reflective.
12) Manage glasses glare proactively
Bring clean lenses with anti-reflective coating. Ask your photographer to adjust angles or lights 5–10 degrees. If glare persists, remove lenses from frames or bring a similar non-prescription pair as a backup.
Mastering the Art of Posing
Great posing is a collection of tiny cues you can repeat without looking “posed.” Practice in a mirror to build muscle memory.
13) Lean slightly toward the camera
Lean Forward: Leaning towards the camera can create a slimmer appearance and elongate your neck, reducing the “double chin” effect. Hinge from the hips, not the shoulders.
14) Project your chin forward and slightly down
Chin Tilt: Tilt your chin downward to minimize the appearance of a double chin and create a more flattering neckline. Think “long neck, chin out, then down” to define the jaw.
15) Turn your body 10–30 degrees
Slight Turn to One Side: Angling your body away from the camera can achieve a slimmer look. Keep hips and shoulders offset; bring your face back to camera for engaging eye contact.
16) Build a natural smile from relaxation
Smile Naturally: Relax your face before building up a genuine smile for an authentic and charming expression. Exhale, lips closed, tiny smile, then add teeth only as needed.
17) Engage your eyes with a gentle “squinch”
Soften and slightly narrow the lower lids while keeping the upper lids relaxed; it conveys confidence and approachability. Think of greeting a friend across the room.
18) Set your tongue and lips for symmetry
Rest your tongue lightly on the roof of your mouth behind the teeth to stabilize the jaw. Apply a hydrating balm and blot for a healthy, non-shiny finish.
19) Breathe between frames to refresh micro-expressions
Inhale through the nose, gentle exhale through pursed lips, then reset your expression. Quick “smile off” resets prevent tension creeping into the brow or mouth corners.
20) Use shoulder mechanics to broaden and relax
Drop the near shoulder slightly and roll the far shoulder back. This opens the chest, strengthens posture, and subtly narrows the waistline in three-quarter crops.
21) Give arms and hands a job
Create slight space between arms and torso so they don’t widen the frame. Lightly hold a lapel, rest fingertips on a forearm, or place a hand on the hip off-camera to shape lines.
22) Master seated vs. standing setups
Seated: perch at the edge, feet planted, lean from hips. Standing: stagger feet, shift weight to the back leg, and lean the chest subtly forward to the lens.
23) Position hair to frame, not hide
Keep hair off the brows and jawline you want defined. Tuck one side behind the ear to reveal cheekbones; tame flyaways with a light, matte finishing spray.
24) Use long lines and angles for curvy and plus-size bodies
Angle three-quarters to camera, tilt the torso slightly forward, and let jackets drape cleanly. Vertical lines and darker layers create shape without compression.
25) Sharpen facial hair and neckline
Trim beards 24–48 hours before the shoot, clean up the neckline, and check for stray cheek hairs. Matte beard balms reduce unwanted shine without stiffness.
Lighting, Backgrounds, and Angles That Flatter
Even if you’re not behind the camera, knowing what flatters you helps you collaborate and advocate during the session.
26) Choose clean backgrounds and soft, directional light
Ask for simple backdrops (mid-gray, charcoal, light beige, or softly blurred office/outdoor scenes). Soft window or softbox light at roughly 45° to your face flatters most features.
27) Favor eye-level camera height and portrait lenses
Eye-level or just above sculpts features; avoid low angles that emphasize the neck. Portrait lenses (around 85–135mm on full frame) reduce distortion and keep features proportional.
Day-Of Checklist: Small Habits, Big Impact
- Rest and hydration: Aim for solid sleep and drink water the day before; avoid excessive salt and alcohol the night prior.
- Shine control: Bring blotting papers or a translucent powder; matte beats shiny under lights.
- Clothing care: Steam garments, pack backups, and carry a lint roller and safety pins.
- Hair and makeup: Schedule trims 5–7 days prior; avoid first-time treatments. Light, matte makeup with defined brows and even skin photographs best.
- Comfort kit: Lip balm, small comb/brush, tissues, and eyedrops if you’re prone to redness.
- Mindset: Arrive a few minutes early, do two rounds of box breathing, and share your favorite side or features with your photographer.
After the Shoot: Select, Retouch, and Use Your Headshot
- Select for expression first, then posture and clothing. Eyes that look engaged beat a technically perfect but flat expression.
- Request natural retouching: remove temporary blemishes, soften under-eye shadows slightly, whiten teeth gently, and preserve real skin texture.
- Ask for multiple crops: tight head-and-shoulders for LinkedIn, a wider crop for speaker bios, and a vertical for press kits.
- Export specs for LinkedIn: square crop, at least 400×400 px, sRGB color, under 8 MB. Keep background clean and contrasty enough to pop in small sizes.
- File naming: Use a professional convention (Firstname-Lastname-Headshot-YYYY.jpg) for easy reuse across websites, resumes, and publication requests.
Discover the secrets to unleash your innate photogenic charm, turning your self-perception from “I’m not photogenic” to “I am truly stunning.” Embrace the art of transformation with the guidance of our expert team of photographers, dedicated to crafting an atmosphere of comfort and empowerment during your photography session. The result? Mesmerizing portraits that will hold a cherished place in your heart, treasured for years to come. Let us guide you on this journey to capturing your best self and experiencing the joy of being photogenic.