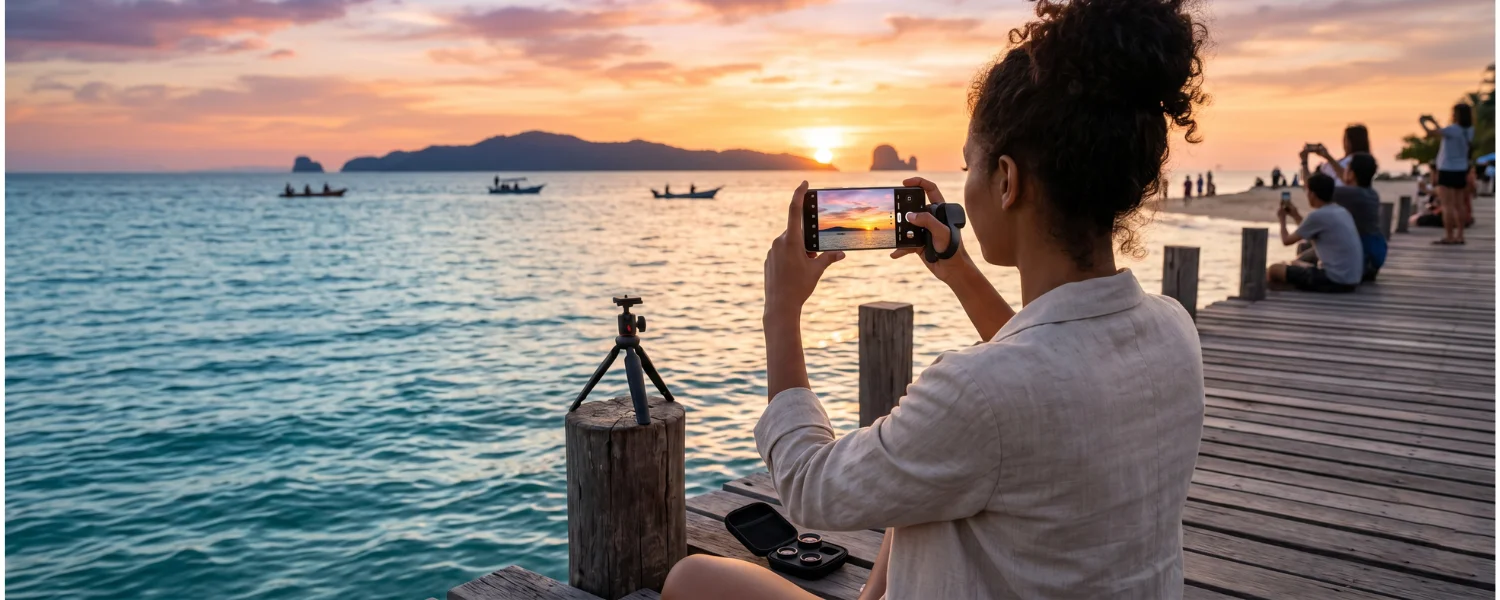
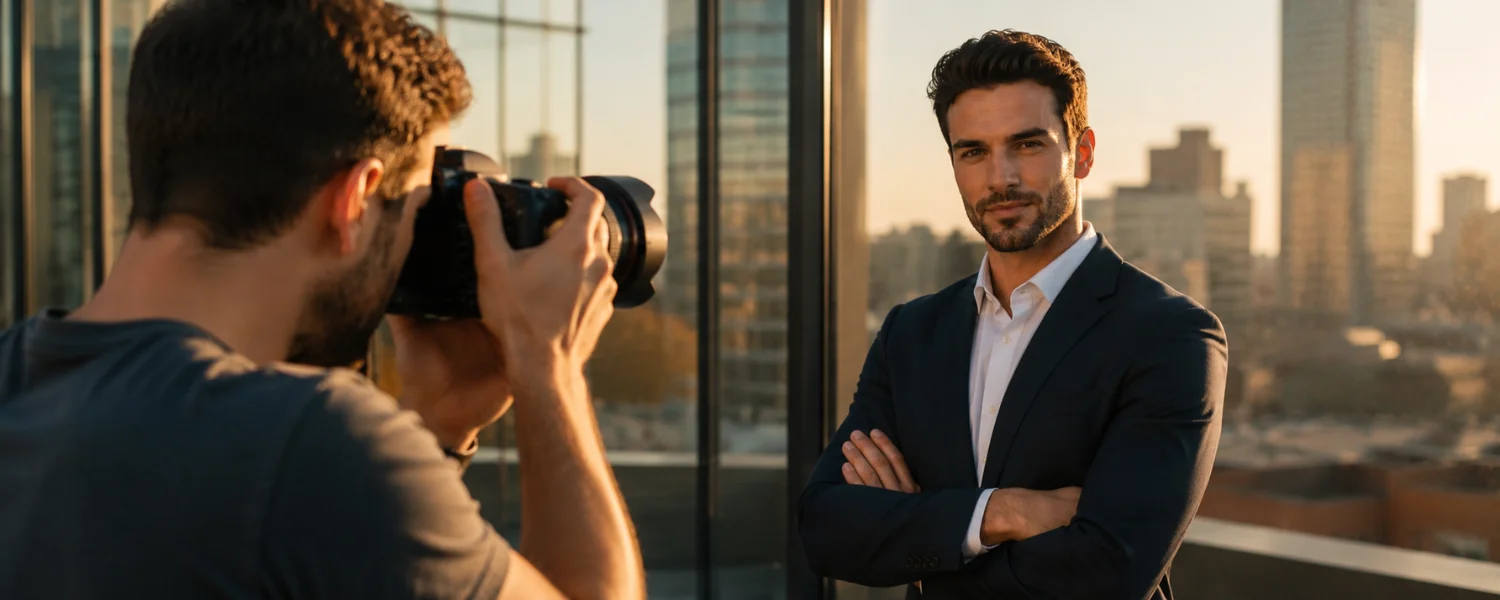
When time and budget are tight, it’s natural to wonder whether you can get a headshot that looks polished enough for LinkedIn, your portfolio, or company bio—without hiring a photographer. The answer is yes. With a few pro-tested techniques, you can capture a headshot that feels authentic, radiates confidence, and opens doors.
The Importance of a Stellar Headshot
In today’s digital world, your headshot is often the first hello. It greets hiring managers on LinkedIn, clients on your website, and collaborators across professional networks. It’s your visual brand—conveying professionalism, approachability, and confidence in a single glance. LinkedIn reports that members with a profile photo receive significantly more profile views and connection requests, which means your image directly influences opportunities.
To help your headshot stand out, prioritize:
- Professionalism, approachability, and a confident demeanor
- A simple, clean background and optimal, flattering lighting
- Balanced composition and high-resolution image quality
- Consistent visual branding across platforms
- Authenticity—your image should look like you on a great day
- Engaging eye contact Direct, relaxed eye contact builds trust. Let your eyes do the connecting so viewers feel comfortable and drawn in.
- Master the “squinch” Lightly narrow your eyes (without squinting) to add depth and presence. This subtle micro-expression reads as confident and focused.
- Radiate with a smile or laugh A warm, genuine smile—or a gentle laugh—translates as friendly and open. Think about someone you like right before the shutter clicks.
17-Step Guide to Capturing a Professional Headshot
1) Define your audience and goal
Decide on the vibe that fits your field: corporate and crisp, creative and relaxed, academic and thoughtful, or healthcare and caring. This informs your background, wardrobe, and expression.
2) Enlist a friend or use a self-timer (skip the selfie)
Ideally, trade headshots with a friend so you can coach each other. Otherwise, mount your phone on a tripod, set a 3–10 second timer or use a Bluetooth remote, and avoid handheld selfies—they distort features and look casual.
3) Choose natural, soft light
Set up near a bright window on a cloudy day or in open shade; avoid direct sun. Place the window about 45 degrees to one side of your face for flattering shadows and depth. If light is dim, bounce it with a white foam board or poster.
4) Pick a neutral, distraction-free background
A plain wall, subtle textured surface, or softly blurred room works. Remove cords, clutter, or wall art that competes with your face. Stand 3–6 feet from the background to keep it pleasantly out of focus.
5) Position the camera at eye level
Set the lens at your eye height and keep it parallel to your face. A slightly higher angle (5–10 degrees) can refine the jawline; avoid low angles that exaggerate features.
6) Use the right lens to avoid distortion
On phones, switch to the 2x or 3x telephoto lens. On cameras, use a 50–85mm lens (full-frame equivalent). Wider lenses stretch features, especially at the edges of the frame.
7) Frame and crop with intention
Compose from mid-chest or shoulders up with a little headroom. Keep your eyes about one-third from the top of the frame. For platform-friendly crops, capture extra space so you can trim to 1:1 later without cutting off the chin or head.
8) Lock focus and exposure
On iPhone, tap and hold to use AE/AF Lock on your eye; on Android, long-press the focus point. Slightly increase exposure if needed so skin tones look luminous but not blown out.
9) Minimize glare and shine
Blot or lightly powder the T-zone. If you wear glasses, raise your light a bit and tilt the frames down slightly at the ear stems to kick reflections away from the lens.
10) Dial in a simple pose
Stand or sit tall, shoulders down and back. Turn your torso 20–30 degrees from the camera, then turn your head back to lens. Push your forehead slightly toward camera and tip your chin down a touch to define the jawline.
11) Coach your expression
Use micro-cues: gentle “squinch,” soft smile, small inhale, slow exhale. Think of a recent win. Try friendly, thoughtful, and big-smile variations to see what fits your brand.
12) Wear camera-friendly outfits
Choose solid, muted colors that flatter your skin tone. Matte fabrics reduce shine; sleeves generally read more professional. Layer with a blazer or cardigan when it suits your field, and keep jewelry minimal to keep attention on your eyes.
13) Shoot multiple looks and angles
Set aside time to experiment. Capture several outfits, backgrounds, and expressions. Use burst mode or take a sequence so you can choose the moment with the best micro-expression.
14) Mind the color temperature
Stick to one light type. If you use window light, turn off warm overhead bulbs to avoid mixed color casts. In editing, set white balance so whites look neutral and skin tones feel natural.
15) Capture the highest quality your device allows
On phones, use the rear camera and the tele lens; enable RAW/ProRAW if available for more editing latitude. On cameras, shoot RAW or high-quality JPEG. Keep ISO low for clean files.
16) Edit and crop with a light touch
Avoid heavy filters. In Lightroom Mobile, VSCO, or Snapseed, adjust exposure, contrast, white balance, and sharpness; remove small blemishes; tame flyaways; reduce under-eye shadows gently. Crop for 1:1 or 4:5 depending on the platform.
17) Export and upload correctly
Export sRGB JPEG at 85–90% quality. For LinkedIn, a square image at least 400 × 400 pixels works well; many users prefer 1200 × 1200 for extra clarity. Name files cleanly (Firstname-Lastname-Headshot.jpg) and add alt text on your site for accessibility and SEO.
Utilizing an Existing Photo for Your Headshot
If you already have a strong photo, you can repurpose it—if it meets a few criteria. Choose an image taken by someone else (not a selfie) that focuses solely on you. Avoid cropping from group photos, where lighting and posture are rarely ideal for a professional portrait.
- Background: Keep it simple so your face stays the focal point.
- No heavy filters: Natural, clear lighting looks more credible than trendy edits.
- Face visibility: Look toward the camera; don’t let hair or objects obscure your features.
- Resolution: Think pixels, not DPI; aim for at least 1200 × 1200 px for a crisp square crop (LinkedIn’s minimum is 400 × 400 px).
- Authenticity: The image should represent how you’d appear in a meeting or interview today.
Dressing for Success: What to Wear for a Professional Headshot
Your clothing supports your story. Keep the look timeless, clean, and aligned with your field.
- Solid, muted colors read best on camera; avoid bold patterns and tight stripes that can cause moiré.
- Choose sleeves for a refined feel; layer with a blazer to add structure and polish.
- Keep jewelry minimal and matte; shiny or oversized pieces pull focus from your eyes.
- Fit and fabric matter: steam or iron pieces, use a lint roller, and choose matte over glossy materials.
- Color cues: blues signal trust, greens feel calm, burgundy conveys depth; pick tones that complement your skin.
Quick Lighting Recipes You Can Trust
- Window + reflector (no budget) Face a large window with it slightly off to one side. Hold or prop a white foam board opposite the window to fill shadows. Step back from the window until the light is soft and even.
- Open shade (outdoors) Stand just inside open shade (like a building overhang) facing the bright sky. This gives wraparound light without squinting.
- One softbox or ring light (small budget) Place the light slightly above eye level and 30–45 degrees to one side of your face. If using a ring light, move it back until catchlights look natural and exposure is even across the face.
- Posing and Expression: Fast, Flattering Cues
- Posture: elongate the spine; drop shoulders; think “lifted but relaxed.”
- Angles: turn your body slightly; bring forehead toward camera; tip chin down a touch.
- Hands: if they appear, keep them relaxed with soft fingers; avoid clenched fists.
- Expression: use the “squinch,” breathe, and try gentle smile, thoughtful neutral, and a friendly laugh.
- Glasses: tilt frames minutely and raise the light to reduce reflections.
Common Mistakes to Avoid
- Selfies or wide-angle lenses that distort features
- Busy or cluttered backgrounds that distract from your face
- Mixed lighting (daylight plus warm bulbs) causing odd color casts
- Over-editing that blurs skin texture or alters your appearance
- Crops that cut off the chin or crowd the top of the head
Platform-Specific Crops and Sizes
- LinkedIn profile photo: square (1:1), minimum 400 × 400 px; 1200 × 1200 px provides extra clarity.
- Zoom/Google/Microsoft profiles: square (1:1); 512 × 512 px or larger looks crisp on modern displays.
- Slack: square, 512 × 512 px recommended.
- Personal website/portfolio: at least 1200 px on the shortest side; use sRGB color profile.
- Print (optional): for a 5 × 7-inch print at 300 DPI, export 1500 × 2100 px.
Budget-Friendly Gear Checklist
Under $50
- Phone tripod with mount and Bluetooth remote
- White foam board or reflector
- Lint roller, blotting papers, hair taming product
- Gaffer’s tape and a microfiber cloth for lenses and glasses
Under $150
- LED ring light or small softbox kit
- Neutral backdrop (light gray, off-white, or soft beige)
- Clip-on telephoto lens for phones (if your phone lacks a 2x/3x camera)
Original 5-Step Quick Start (Refined)
1) Get a helper (or use the self-timer)
Trade photos with a friend for better coaching. If solo, use a tripod and your phone’s self-timer or a remote. Skip selfies for a more professional look.
2) Set up near natural light
Choose a bright wall near a window for soft, flattering light. Cloudy days are ideal; avoid direct sun and harsh glares.
3) Keep the background neutral
Use a plain wall or simple texture; remove clutter before shooting so the eye stays on your face.
4) Capture multiple images and outfits
Try several outfits and expressions, using burst mode if available. More variety helps you find your best look.
5) Edit lightly and crop for platform
Use a photo app like VSCO, Snapseed, or Lightroom Mobile to make subtle adjustments. Keep edits natural and crop appropriately for each site.
When to Hire a Professional Photographer
Hire a pro when you need a cohesive set of images for your company site, press kit, or personal brand; when your team requires consistent, studio-lit looks; or when you want advanced retouching and art direction. A great photographer brings lighting gear, posing coaching, and brand alignment—all of which save time and elevate results.