Photography thrives on the delicate dance of light and shadow. Every decision about light—whether you lean into the warmth of a window or sculpt with a softbox—shapes the story your image tells. Natural light brings mood and spontaneity; artificial light delivers control and repeatability. The real power comes from knowing when to use each, how to shape them, and how to mix them without compromise.
The Essentials: Quality, Quantity, Direction, and Color
- Quality (soft vs. hard): Larger light sources relative to your subject create softer shadows. A big window, softbox, or scrim softens; a bare bulb hardens.
- Quantity (intensity): Brighter light allows lower ISO and faster shutter speeds. The inverse-square law means light falls off quickly as distance increases.
- Direction: Front light flatters and reduces texture; side light adds depth and drama; backlight creates glow and separation; top light can be harsh.
- Color (temperature and accuracy): Color temperature (K) affects mood and skin tones. CRI/TLCI indicates how faithfully a light renders colors.
Understanding Natural Light
Natural light—photography’s oldest partner—offers a living, breathing source of illumination that changes minute by minute. With shifting angles and intensities throughout the day, the sun provides a stunning range of lighting conditions that can elevate mood and texture when you learn to read it.
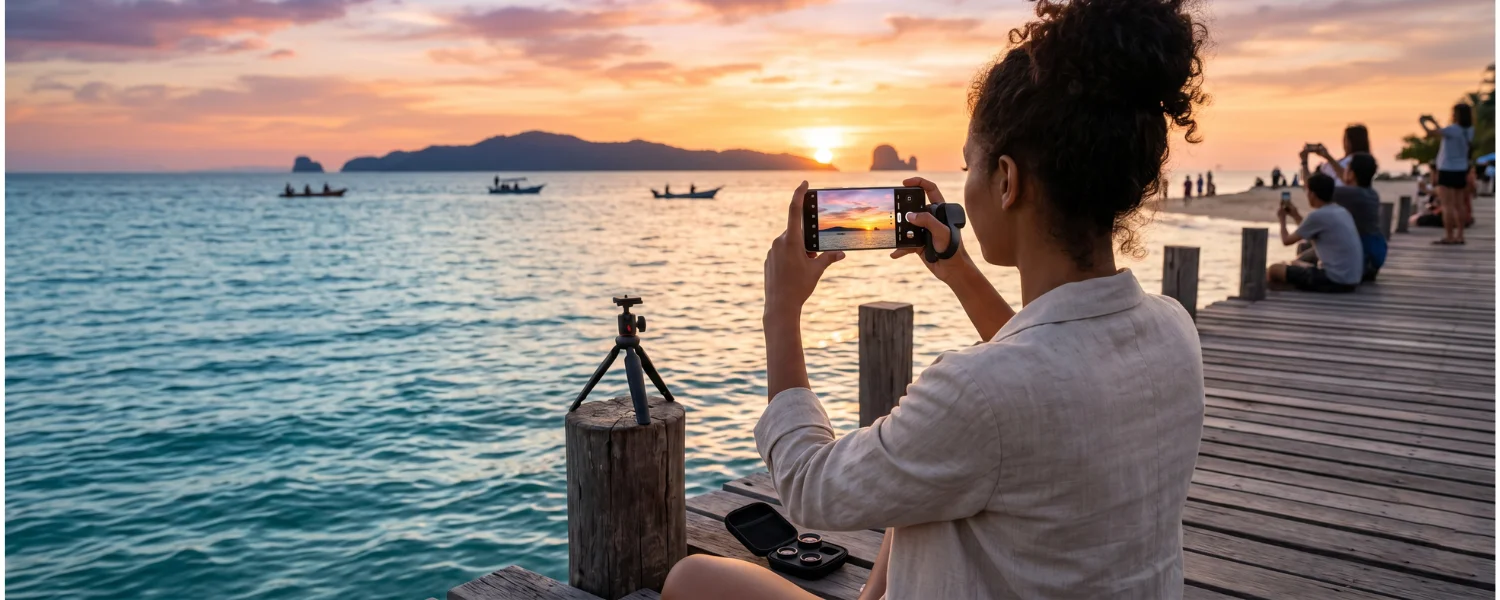
- Golden Hour Magic The golden hour, just after sunrise or before sunset, casts warm, mellow light across your scene. Colors feel richer, shadows grow longer, and skin tones glow. Use it to flatter portraits, add dimension to landscapes, and create a romantic, nostalgic mood.
- Harsh Midday Sun Midday sun delivers hard light with crisp shadows and high contrast that can challenge skin tones and exposure. Diffuse it with a scrim or translucent umbrella, seek open shade, or backlight the subject and expose for faces. Reflectors can fill under-eye shadows and restore balance.
- Overcast Days Cloud cover turns the sky into a giant softbox, creating even, shadow-free light. This is ideal for portraits and product work outdoors, minimizing hot spots and squinting. Watch for flatness; add contrast with a reflector or move your subject near a bright edge (like the opening of a covered walkway) to shape direction.
- Directional Light The direction of light dramatically affects mood and texture. Side lighting emphasizes shape and depth, while backlighting can create a beautiful rim or halo. Use flags or your own body to block stray light and refine the look. Window light—with sheer curtains as a diffuser—offers studio-quality results at home.
Understanding Artificial Light
Technological advances have seamlessly woven artificial illumination into photography, granting precise control and consistency. From portable flashes to powerful studio strobes and modern LEDs, artificial light lets you craft the exact look you want at any hour.
- Continuous Lighting LED panels and COB lights provide steady illumination, so you see the result in real time. Great for both photo and video, they’re quiet, cool-running, and often bi-color (3200K–5600K) or RGB. Choose high-CRI (95+) units for faithful skin tones and product colors.
- Flash Photography (Speedlights) On- or off-camera flashes emit a short, bright burst to freeze motion, fill shadows, or overpower sun. They’re compact, battery-powered, and versatile. Use TTL for quick setups, manual power for consistency, and high-speed sync (HSS) to shoot wide apertures in bright conditions.
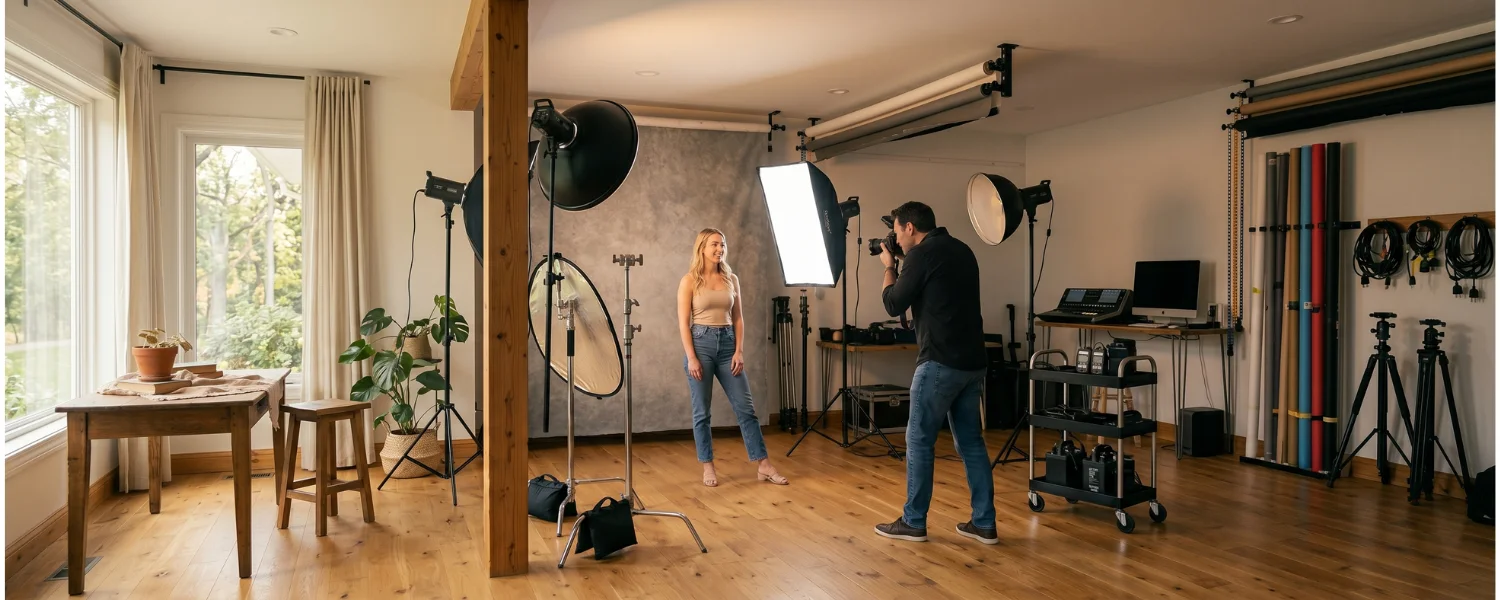
- Studio Strobes and Monolights High-powered strobes deliver consistent, controllable output—perfect for portraits, fashion, and products. Many sync with wireless triggers, support HSS, and pair with modifiers like softboxes, beauty dishes, and grids for precision shaping.
- Light Shapers and Modifiers
- Softboxes and umbrellas: Soften and broaden light for flattering skin.
- Reflectors and scrims: Add fill or diffuse harsh sources outdoors and in.
- Grids and flags: Control spill and add direction and drama.
- Gels (CTO/CTB): Match or creatively shift color temperature to ambient light.
- Choosing the Right Lighting for Your Photos There’s no one-size-fits-all answer to Natural Light vs. Artificial Light. Each has strengths. The best choice aligns with your vision, subject, and constraints—then uses tools and technique to remove friction.
- Consider the Mood and Style Natural light often reads organic and cinematic; artificial light can be stylized and precise. For intimate family portraits, window light may feel authentic. For glossy product shots, strobes create dependable reflections and crisp edges.
- Adapt to the Environment On-location work may mean embracing available light and augmenting it gently. In studios, you control every variable. Either way, scout the space, check the sun’s path, identify reflectors (white walls) and flags (dark curtains), and plan your approach.
- Mixing Natural and Artificial Light Blending sources adds flexibility and polish. Use a speedlight at golden hour to lift shadows without losing warmth. Gel your flash with 1/4 or 1/2 CTO to match the sun’s amber tone, and set white balance accordingly for seamless results.
- Understand the Technical Aspects
- Color temperature (Kelvin): Daylight is about 5200–5600K; shade 6500–7500K; tungsten 2800–3200K; golden hour 3000–4500K.
- Sync speed: Stay at or below your camera’s x-sync (often 1/200–1/250) unless using HSS.
- Light ratios: Aim for 2:1 to 4:1 (key-to-fill) for natural portraits; higher ratios for drama.
- Invest in Quality Equipment Good glass and reliable lights outlast trends. Prioritize lenses with wide apertures (f/1.4–f/2.8), high-CRI LEDs or consistent strobes, sturdy light stands, and dependable triggers. Even a single high-quality modifier can transform your results.
- Step-by-Step Setups for Common Scenarios
- Outdoor Portrait at Golden Hour (Natural + Subtle Fill)
- Place the sun behind your subject for a rim-lit glow; expose for the face.
- Add a speedlight with 1/4 CTO gel at low power (1/64–1/32) off-camera, feathered toward the subject for soft lift.
- Sample settings: ISO 100–200, f/2–f/2.8 for background blur, 1/200s (use HSS if needed).
- Tip: Keep flash 1–2 stops under ambient to preserve the golden feel.
Midday Family Portrait in the Park (Diffusion + Reflector)
- Move into open shade or create it with a 5-in-1 diffuser overhead.
- Use a white or silver reflector low and opposite the main light to fill under-eye shadows.
- Sample settings: ISO 200–400, f/4–f/5.6, 1/400–1/800s.
- Tip: Angle the faces toward the brightest patch of shade for natural catchlights.
Indoor Window Portrait (Bounce Flash + Window Key)
- Seat the subject 1–2 feet from a large window with sheer curtains for soft key light.
- Bounce a speedlight off a white wall or ceiling behind you for gentle fill.
- Sample settings: ISO 200–800, f/2–f/2.8, 1/125–1/200s; set WB to 5200–5600K or custom with a gray card.
- Tip: Flag the window side with a black card to add shape if the light feels too flat.
Tabletop Product Shot (LED Softbox Precision)
- Use a bi-color LED in a softbox as key light at 45° to the product; add a white fill card opposite.
- Place a small grid or flag to control reflections and define edges.
- Sample settings: ISO 100, f/8–f/11 for sharpness, shutter to taste (tripod recommended).
- Tip: Match LED Kelvin to 5600K and turn off mixed ambient lights to avoid color casts.
Indoor Event or Birthday Party (On-Camera Bounce)
- Point flash at a nearby white wall/ceiling; use a small bounce card to direct light forward.
- Shoot TTL with +0.3 to +1.0 flash exposure compensation for consistent faces.
- Sample settings: ISO 800–1600, f/2.8–f/4, 1/125–1/200s; use HSS if dragging shutter causes blur.
- Tip: If ceilings are dark, rotate to bounce off a wall or switch to a mini softbox diffuser.
Smartphone Tip (Natural Light Wins)
- Position your subject near a window or in open shade; tap to expose for the face and lock AE/AF.
- Avoid mixed lighting; turn off warm lamps or step into clean daylight.
Exposure and White Balance Control
- Ambient vs. flash: First expose for ambient background (ISO/shutter/aperture), then add flash power to taste without changing the background brightness.
- Histogram and highlight alert: Protect skin highlights; it’s easier to lift shadows than recover blown highlights.
- White balance: Start with Kelvin—daylight 5200–5600K, shade 6500–7500K, tungsten 2800–3200K. For accuracy, set a custom WB using a gray card.
- Gels: Use CTO to warm flash to sunset or tungsten, CTB to cool toward daylight, and plusgreen/magenta to match fluorescents/LED shifts.
Light Modifiers and Tools That Matter Most
- 5-in-1 Reflector: White (soft fill), silver (bright, crisp), gold (warmth), black (subtract), translucent (diffuse sun).
- Softbox vs. umbrella: Softboxes control spill and shape; umbrellas are fast and broad but spill more.
- Scrim: A portable lifesaver for harsh midday shoots—put it between sun and subject.
- Grids and flags: Add direction, contrast, and background control in tight spaces.
Budget-to-Pro Gear Recommendations
Budget
- 1 speedlight with wireless trigger, 5-in-1 reflector, umbrella + swivel bracket, light stand.
- Use window light plus a reflector for portraits; upgrade later to a softbox.
Midrange
- Two speedlights or an entry monolight, 24–36 inch softbox, grid, scrim, and color gels.
- Bi-color LED panel (CRI 95+) for hybrid photo/video work.
Pro
- Two to three strobes with HSS, large octabox (48–60 inch), beauty dish, strip softboxes with grids, C-stands and flags.
- High-CRI COB LEDs with Bowens-mount modifiers for consistent color across sets.
Cost, Time, and Sustainability
- Time: Natural light is fast if you can schedule around the sun; artificial light saves time when you need repeatability any hour.
- Cost: Start with reflectors and a single flash or LED; add modifiers as your style firms up.
- Sustainability: Modern LEDs are energy-efficient, cool-running, and kinder to small indoor sets and kids’ sessions.
Troubleshooting and Common Mistakes
- Harsh raccoon eyes at noon: Move to open shade, add a diffuser overhead, or fill with a reflector.
- Mixed color casts: Kill competing ambient sources or gel your flash to match; set a custom white balance.
- Motion blur indoors: Increase ISO, open aperture, or add flash; keep shutter at 1/125–1/200s for people.
- Flat light: Add direction—turn subject toward a window’s edge, feather your softbox, or subtract light with a flag.
- Inconsistent flash exposures: Switch to manual power, lock distance, and meter once; or keep TTL and dial FEC consistently.
Quick Reference Cheat Sheet
- Golden hour portrait: ISO 100–200, f/2–f/2.8, 1/200s, flash −1 to −2 EV with 1/4 CTO.
- Overcast headshot: ISO 200–400, f/4, 1/200–1/400s, reflector for subtle direction.
- Window-lit newborn: ISO 400–800, f/2–f/2.8, 1/160s, bounce flash for gentle fill.
- Product on white: ISO 100, f/8–f/11, tripod, LED softbox at 45°, fill card opposite.
- Event indoors: ISO 800–1600, f/2.8–f/4, 1/160s, on-camera bounce with small card.
Original Guidance Refined and Expanded
Photography is an art form that transforms fleeting moments into memorable images through the interplay of light and shadow. The choice between natural and artificial light is critical, and photographers navigate the strengths and limits of each to capture the spirit of their subjects. This guide explores the world of Natural Light vs. Artificial Light—its qualities, benefits, and practical considerations—so you can make confident choices that elevate your work.
Natural light provides a dynamic, ever-changing source of illumination. With different angles and intensities throughout the day, the sun offers countless looks. Embrace golden hour’s warm, mellow light for saturated color and long, dramatic shadows; tame harsh midday sun with diffusion and shade; use overcast days for soft, uniform lighting that flatters faces; and remember that the direction of light—from side to back—shapes mood, texture, and depth.
Artificial light delivers control and consistency. Continuous lights (like modern LEDs) show you results in real time and are great for photo and video. Flash and speedlights offer a short, bright burst to freeze motion, fill shadows, or add drama. Studio strobes provide high, consistent output for portraits, fashion, and product sets. With the right modifiers and gels, you can match ambient light, stylize color, and replicate your look anywhere.
Choose lighting based on mood and style: natural light often feels warm and organic, while artificial light excels at precision and repeatability. Adapt your approach to the environment—on location you may lean on available light, whereas a studio gives you full control. Mixing sources can be powerful; a gelled flash at golden hour can preserve atmosphere while lifting shadows. To succeed in both worlds, build fluency in exposure, color temperature, white balance, and light modifiers. Whatever you choose, quality equipment—reliable lenses, camera bodies, and lighting tools—pays dividends in consistency and creative freedom.
There is no single winner in the Natural Light vs. Artificial Light conversation. Each source has distinct advantages. What matters most is aligning the light with your vision and subject, experimenting with different setups, and letting the interplay of light and shadow ignite your creativity—whether you’re savoring golden hour’s warmth or sculpting a scene with precise, thoughtful artificial light.